It can be very frustrating when you’ve been out for a shoot only to get home to check out your shots and realize many are out of focus or blurry.
It’s so important that we get the focus right when out in the field.
What are the best settings to focus a landscape image?
Set the focus area mode to Single Point, with a small focus area. Position the focus point on an element roughly one-third of the way in the scene with some contrast. Use an aperture of f/11 to f/16 for a large Depth of Field. Focus the camera using Back Button focusing and then take the shot.
There can be a lot going on when you’re on location, and a range of things can impact the focus of your photo.
So let’s step through how you should approach focusing the camera before you take a shot.
A Comprehensive Guide to Focusing a Landscape Photo
I’ve found over the years the best way to nail the focus of every photo is to develop a routine that I follow every time I capture an image.
What is the Best Technique to focus a landscape photo?
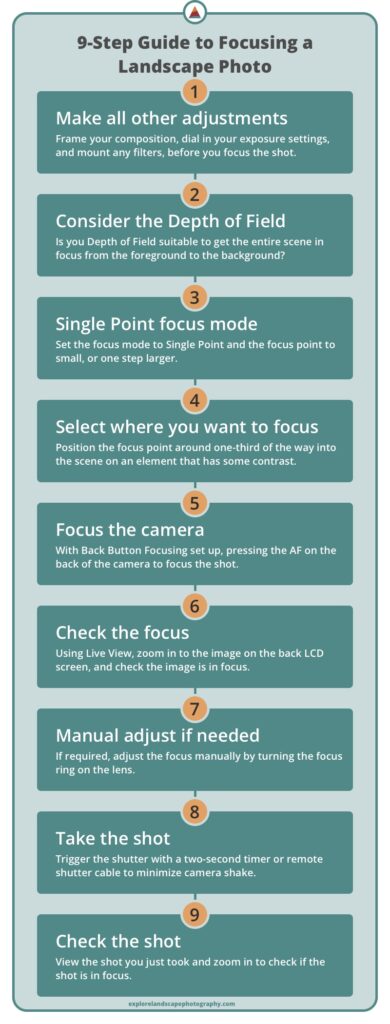
Step 1. Make all other adjustments
Setting the focus should be the last thing you do before capturing your image.
Only start focusing your shot once you’ve decided on the precise composition you will shoot, including the focal length. Any slight camera repositioning or adjustment of the lens’s focal length will likely through the focus out.
Also, ensure you’ve dialed in all the other exposure settings, like shutter speed and aperture.
Only at this point should you set your focus, knowing that you don’t need to adjust anything else on the camera and potentially throw your focus out.
Step 2. Consider the Depth of Field (Aperture)
The Depth of Field (DoF) is the amount or region of the scene from the camera that will be in focus.
The Aperture determines the Depth of Field and controls the amount of light that comes into the camera.
An Aperture between f/11 and f/16 provides a suitable DoF for most landscape pictures, so the entire scene is focused.
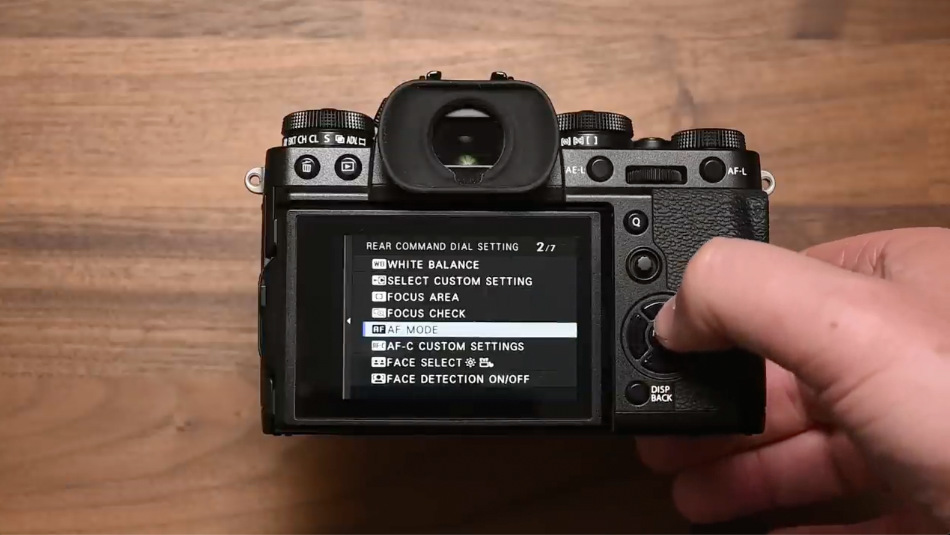
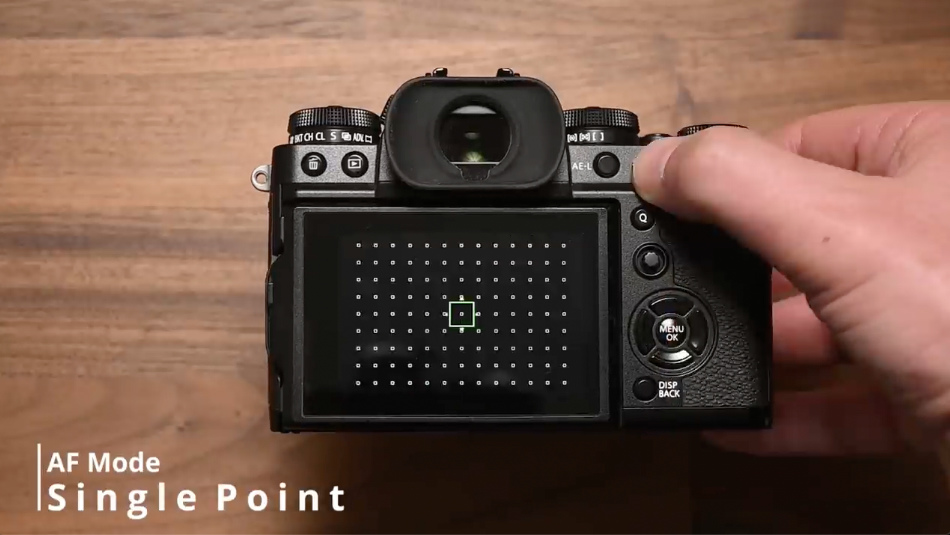
Step 3. Set the focus mode to Single Point
Area focus mode leaves the decision of where to focus up to the camera.
Focus tracking is more suited for scenarios where there’s an object moving in your scene that you want to keep in focus.
When capturing a landscape, you want precise control over where the camera will focus.
To have this exact control, ensure the camera is in AF Single Point focus mode and the focus point is set to the smallest or one size bigger. So you can precisely select the point at which the camera will focus.
TIP
This is a setting that I usually check before I go out on location as part of my preparation, so it is one less thing I need to do when in the field.
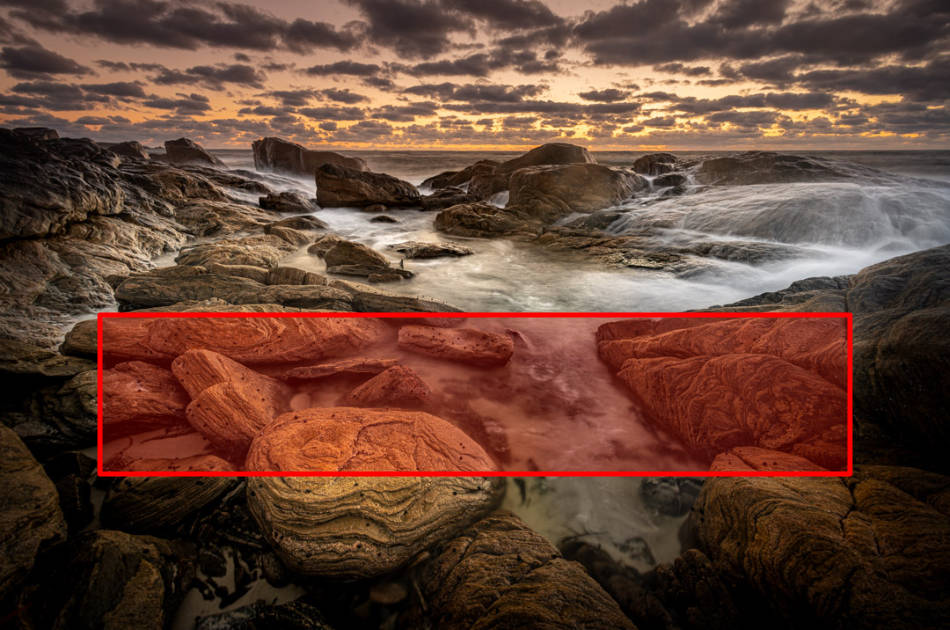
Step 4. Select where you want to focus
For a typical wide vista shot with some foreground, you want to position the focus point roughly one-third of the way into the scene.
This is because a third of the Depth of Field is in front of the point you are focused on, and two-thirds of the DoF is beyond that point.
Select a part of the scene that’s not dark or in shadow, as it makes it easier for the camera to find focus on an object that has some light or contrast.
When framing a part of the landscape at some distance from the camera with a telephoto lens, place the focus point on the subject or element you want to feature in the photo.
Depending on the features of your camera, you move the focus point to your desired position with the D-pad and joystick.
If your camera has a touch screen, you can tap the spot where you want to focus to position the focus point.
Step 5. Focus the camera (Auto Focus)
The default setup of most cameras is such that you autofocus the camera with a half-press of the shutter button.
I don’t prefer this method, so instead, I set up Back Button Focusing (BBF) on every camera I’ve owned. This is where I remove the focus function for the shutter button and allocate it to a button on the back of the camera.
Some of the main advantages of this approach are:
- Simplifying the function of the shutter button only to trigger the shutter.
- Allow the shutter to be triggered without impacting the focus.
- Effectively having a hybrid of auto and manual focusing.
Not so long ago, photographers couldn’t rely on a camera’s autofocus and instead would focus each scene manually.
With improved technology, modern cameras have accurate focusing features and algorithms that speed up the process.
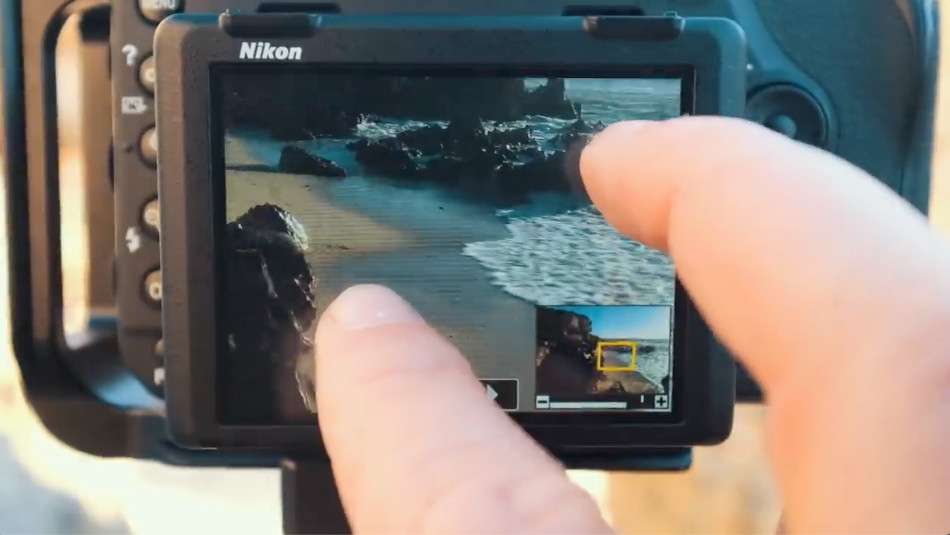
Step 6. Check the Focus
While you can utilize the camera’s auto focus efficiency, you should always check the focus.
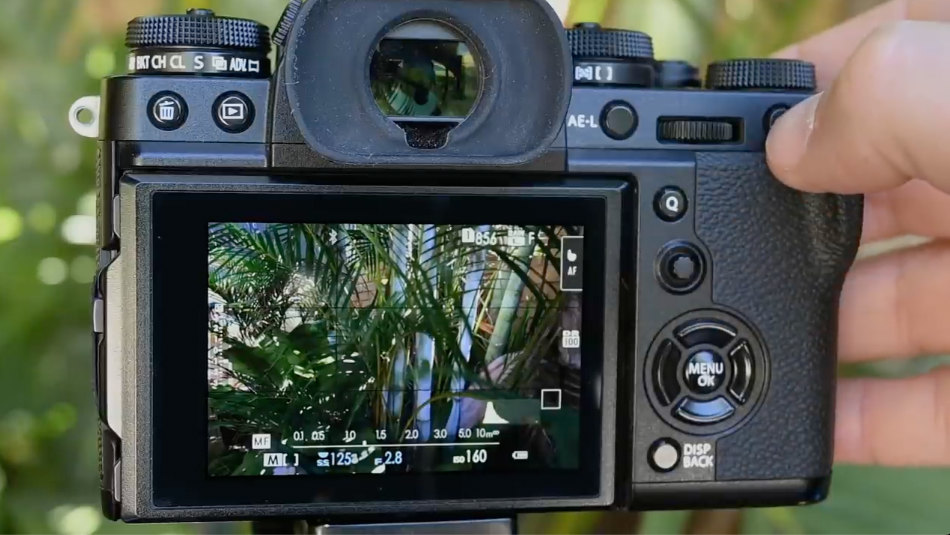
Using Live View on the back LCD screen, punch into the image around the area where the focus point was positioned and check the sharpness of the elements and textures.
I have customized the center button on the D-pad on the back to punch in 100% so I can quickly check the focus.
Touch-enabled LCD screens allow you to pinch in with your fingers to zoom into the Live View image.
Step 7. Manual Adjust if needed
Once punched into the image on the back LCD screen, check the focus and manually adjust the focus if necessary.
The advantage of this technique and the use of Back Button Focusing, it you are leveraging both autofocus and manual focus, and you don’t have to switch between modes.
This streamlines the focus process making it quick, adaptable for different scenarios, and highly accurate.
Even when punched into the image, you can hit the autofocus button you’ve set up on the back and refocus the image.
Once you’re happy the image has been focused correctly, zoom back out to see the whole scene.
Step 8. Take the Shot
You’re now ready to take the shot.
But if you smash away at the shutter button, you’ll likely move the camera slightly, and the shot is taken. This is called Camera Shake.
To avoid Camera Shake, you can set up a timer so there is a few seconds delay between pushing the shutter button and the shutter releasing.
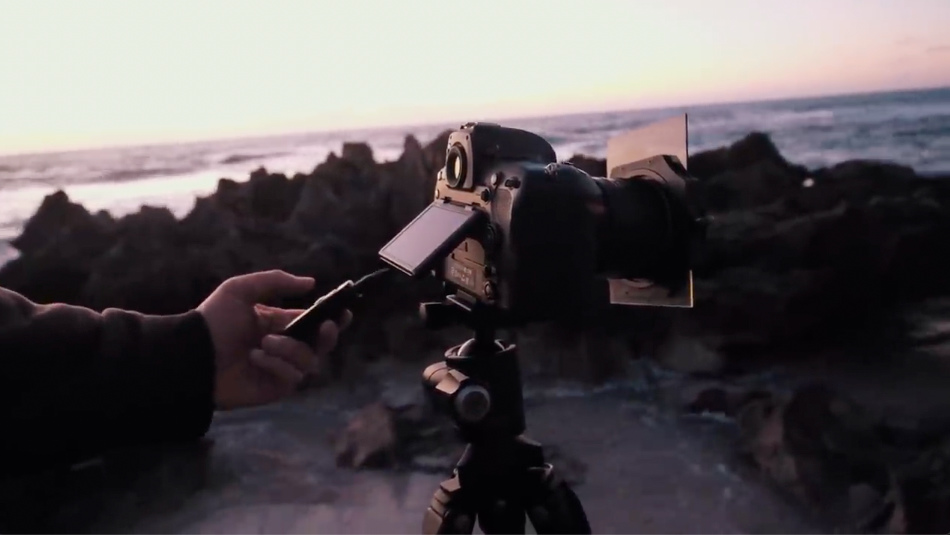
Alternatively, use a remote shutter release (cabled or wireless). This lets you activate the shutter without touching the camera.

Pixel Remote Shutter Release Cable
An inexpensive remote shutter cable that is reliable and doesn’t require messing around with wireless connections. Available for all makes and models of cameras.
Step 9. Check your Shot
As mentioned previously, there can be a lot going on in the field when you’re taking landscape images.
A range of factors can impact the focus of an image, so as a final step, bring up the shot you just took through playback, punch in the picture, and check it’s in focus.
Look at the area around where you focused the camera and also examine the rest of the image to ensure your Depth of Field was sufficient.
Based on what you see, make the appropriate adjustments to the camera if required and be ready to take the next shot.
What is the best focus mode for landscape photography?
The best focus mode is Single Point using autofocus with a relatively small focus point because you need precise control over the exact spot in the scene you want to focus on.
Sometimes the smallest focus point is too small, so adjust it to one size larger.
Where do you focus and take sharp landscape photos?
A sharp landscape photo is achieved by focusing about one-third of the way into the scene with a Depth of Field that is large enough to include the landscape you want in focus.
Depth of Field (DoF) relates to the amount of the scene in front of the camera that’s in focus. DoF is controlled through the aperture.
For landscapes that have much distance between the foreground, mid-ground, and background, you’ll want an aperture between f/11 and f/16. An aperture of this size will provide a Depth of Field large enough to include most landscapes.
Roughly two-thirds of the DoF is behind the point in the landscape where you focus the camera, and one-third is between that point and the camera.
To ensure the entire scene is sharp, you should focus roughly one-third of the way in the scene, which in most cases is about one-third from the bottom of the frame.
How do you focus landscape photos?
The best way to consistently take sharp and focused landscapes is to set the composition and dial in your exposure settings. Use autofocus with Single point mode and position the focus point a third of the way into the scene on an element with some contrast.
If you have Live View, zoom in and check the focus before taking the shot with a two-second timer or remote shutter trigger.
Finally, check your shot to confirm it’s in focus.
If you develop this into a repeatable technique, you will capture landscape images that are tack sharp every time.
Should you use Manual or Auto Focus for landscapes?
The technology in current cameras makes autofocus highly accurate in most scenarios.
However, if you set up a back button on your camera to focus, you can use both manual and autofocus seamlessly to focus every shot.
In Single Point mode, position the focus point on the object you want to focus on. Then, press the button on the back of the camera you’ve customized for autofocus.
In Live View, check on the LCD screen that the image is focused by zooming in.
If the camera has missed the focus, you can manually adjust the focus with the focus ring on the lens.
You can go between auto-focus and manual focus interchangeably without switching modes, making it quick and adaptable for focusing an image in any situation.
When should you use focus stacking?
If elements in the frame are close to the camera or you need to set an aperture wider than f/11 to allow more light, you may not be able to capture the landscape with the entire scene in focus in one shot.
In this case, you could focus stack the scene, shooting multiple images, focused at different points throughout the scene.
As your Depth of Field (DoF) is smaller, you must ensure you overlap the DoF when you position the focus point in each shot.
Most editing software will merge the multiple shots taken into one, giving you a final image with the entire scene in focus.
QUICK RECAP
Focusing you landscape photo should be the last thing you do before you take the shot.
Develop a repeatable routine of best practice to consistantly take tack sharp images.
Use Back Button Focusing so you seemlessly move between autofocus and manual focus with out switching modes.
Regardless how accurate autofocus is in modern cameras, always check the focus before and after taking a shot.